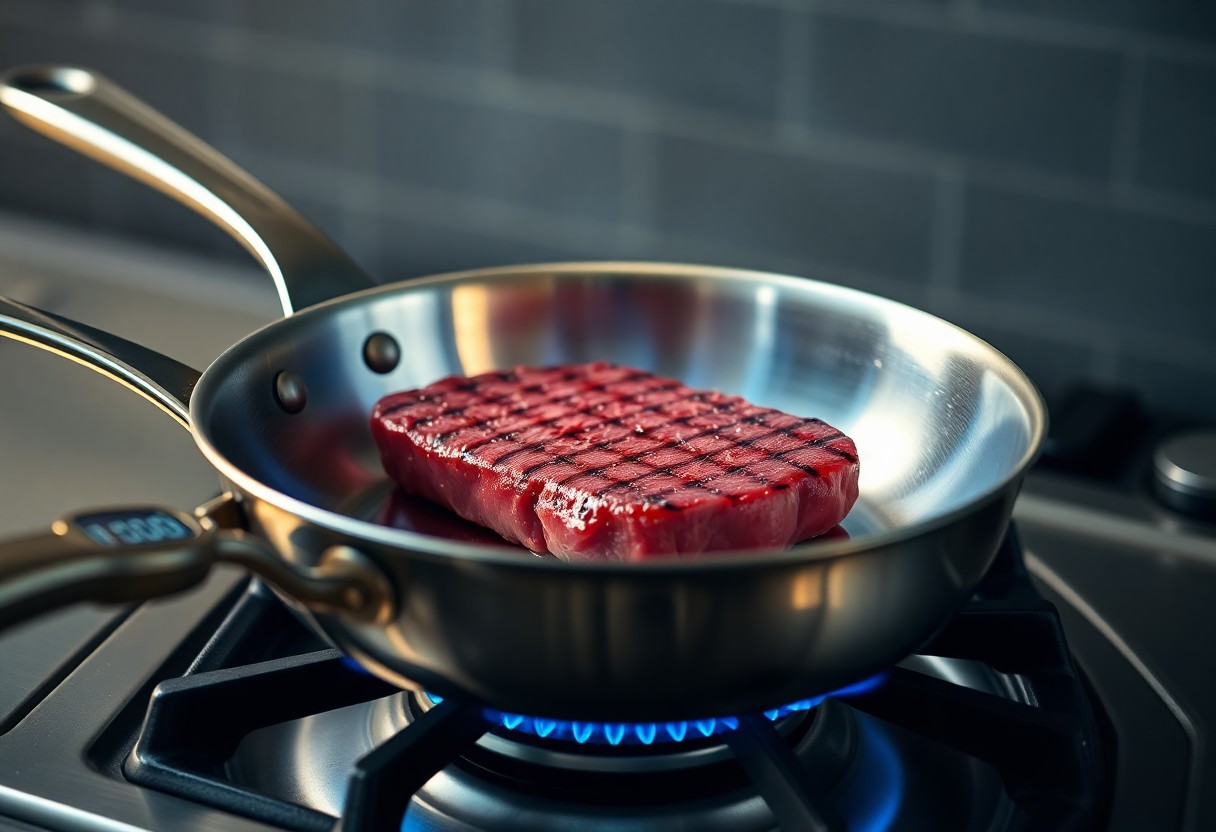
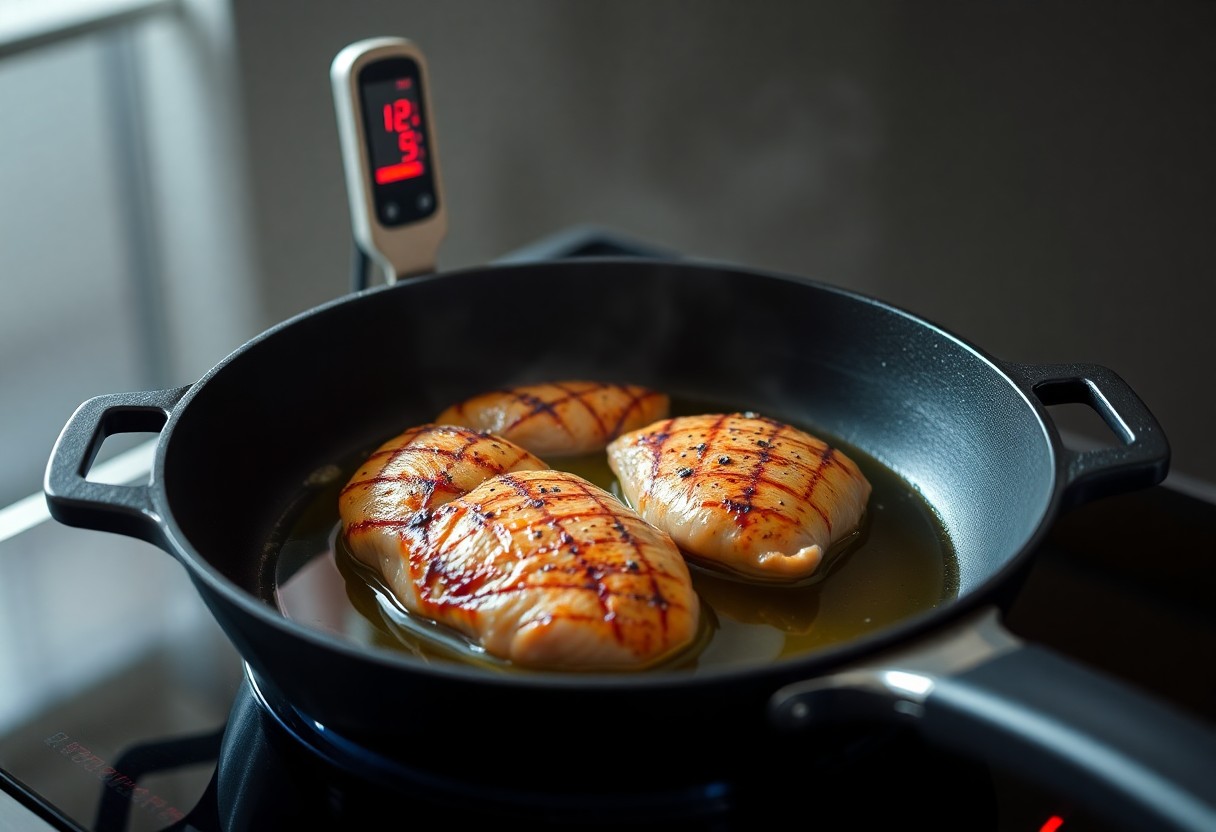
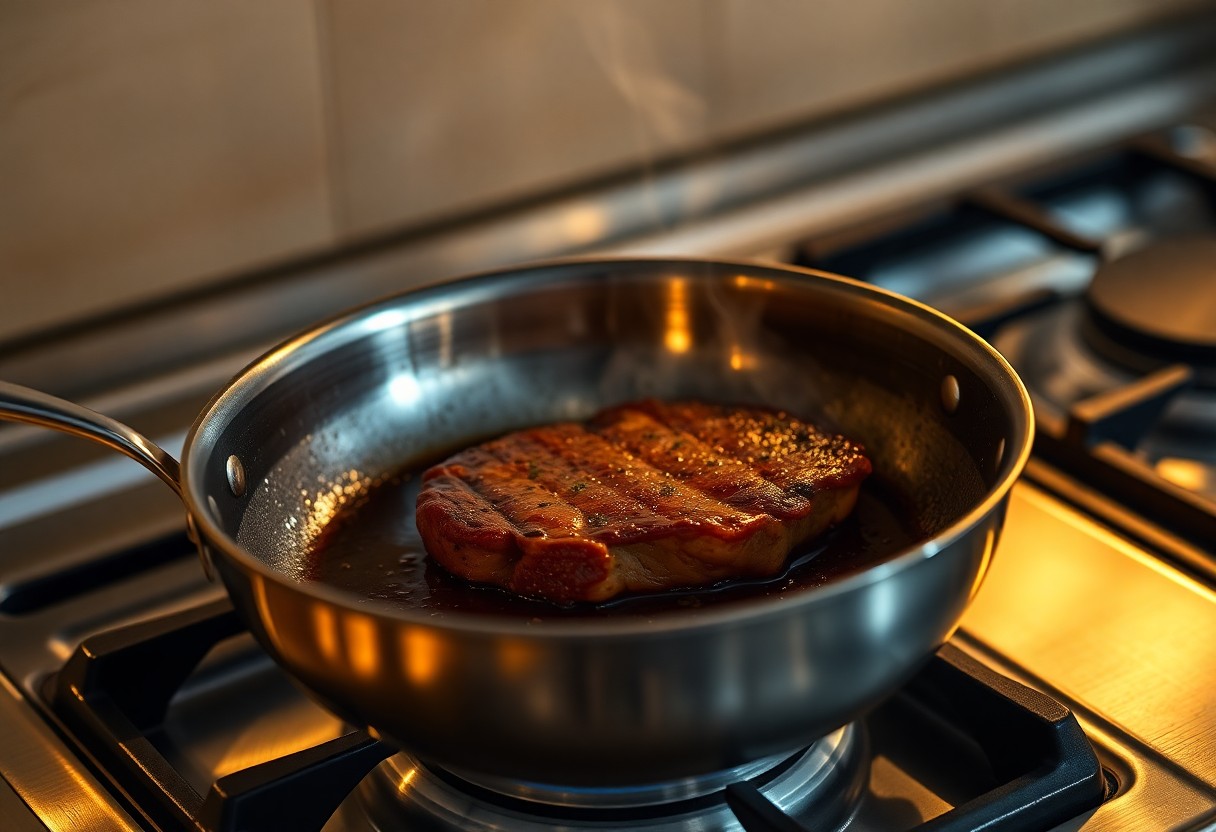
There’s a world of difference between a seared steak that captivates your taste buds and one that leaves you disappointed. By understanding the science behind pan preheating, you can achieve that perfect, caramelized crust every time you cook. Preheating your pan to the right temperature not only enhances the flavors of your dish but also ensures a satisfying texture. In this post, we’ll explore how to harness the full potential of your cookware for optimal cooking results.
Key Takeaways:
- Preheating your pan effectively contributes to achieving a perfect sear, as it ensures that food begins cooking immediately upon contact, enhancing flavor and texture.
- The type of pan you use impacts heat retention and distribution; materials like cast iron or stainless steel are often preferred for their superior searing capabilities.
- Utilizing the right oil for cooking at high temperatures can prevent smoking and burning, allowing for optimal caramelization and crust formation on the food.
The Chemistry of Heat: Transforming Food at the Molecular Level
Understanding the impact of heat on your ingredients reveals the beauty of cooking at a molecular level. Heat triggers a series of chemical reactions that alter textures, flavors, and aromas. At higher temperatures, bonds between molecules begin to break down, leading to the transformation of simple sugars and proteins into complex flavors and enhanced visual appeal. This process highlights the importance of preheating your pan, ensuring that heat is evenly distributed to maximize the interactions that create delicious culinary experiences.
Maillard Reaction: The Key to Flavor Development
Achieving rich, savory flavors depends on the Maillard reaction, a complex chemical process that occurs when your food is exposed to heat. This reaction occurs between amino acids and reducing sugars, creating thousands of unique flavor compounds as temperatures exceed 300°F (150°C). You’ll notice this when preparing steaks, roasts, and baked goods, where browning signals intense flavor development, enhancing the overall taste of your dishes.
Caramelization: Unlocking Sweetness and Color
Caramelization occurs when sugars break down under heat, resulting in a range of flavors from sweet to nutty and producing golden hues. Unlike the Maillard reaction, which involves both sugars and amino acids, caramelization strictly pertains to the transformation of sugars. This process starts at around 320°F (160°C) and can lead to the creation of delightful caramel or deep, complex flavors that elevate your desserts and sauces.
The moment sugar molecules begin to heat, they undergo a fascinating transformation. As you gently raise the temperature, the sugar melts, becoming a syrupy liquid. As you continue to cook, it begins to change color, and you’ll witness the development of deeper, rich flavors and aromas. For example, when making a *sautéed onion*, the gradual caramelization not only enhances sweetness but also develops a *golden-brown color* that invites the palate. Keep in mind that different sugars caramelize at various temperatures; for instance, white sugar will caramelize faster than brown sugar due to the presence of molasses. Mastering caramelization can add a layered complexity to your dishes, making them truly memorable.

Preheating Protocols: Techniques for Optimal Temperature
Achieving the perfect sear depends significantly on consistent preheating protocols. Different techniques can enhance your pan preheating process, ensuring the temperature reaches the desired level without overheating. Below is a breakdown of effective methods:
| Technique | Description |
|---|---|
| Stovetop Preheat | Start on medium-high heat for 2-3 minutes, then check the temperature before adding oil. |
| Oven Preheat | For oven-safe pans, preheat your oven to 400°F and place the pan inside for 10-15 minutes. |
| The Water Test | Add a few drops of water; if they dance around, the pan is ready for searing. |
The Right Temperature for Different Materials
Different cookware materials require distinct temperature ranges for optimal performance. For example, cast iron ideally preheats to 450°F for a great sear, while non-stick pans shine at around 350°F, preventing the coating from degrading. Understanding these temperature requirements enhances your cooking outcomes:
| Material | Optimal Temperature (°F) |
|---|---|
| Stainless Steel | 400-450°F |
| Cast Iron | 450°F |
| Non-Stick | 350°F |
Timing: How Long to Preheat for Maximum Impact
The timing of your pan preheating significantly affects the final result of your dishes. Allowing your pan to preheat for just the right duration—typically between 3 to 5 minutes—establishes a hot surface where food can sear quickly, maintaining moisture and flavor. Use a heat thermometer or the water test to gauge readiness precisely, leaving no room for guessing.
To maximize impact, consider the type of cooking and the thickness of the food. Thicker cuts like steaks may benefit from a longer preheat time, while delicate items like fish require just enough heat to avoid sticking. Adjusting your timing based on these factors enables you to harness the full potential of your pan, leading to delicious, evenly cooked meals every time.

The Role of Pan Material in Heat Retention and Distribution
Your choice of pan material directly impacts how well heat is retained and distributed across its surface, ultimately affecting your cooking results. Materials like cast iron and stainless steel have distinct thermal properties that influence how food cooks. For optimal searing, a pan needs to reach and hold temperature effectively, ensuring an even cooking experience while preventing hot spots. Understanding these differences can help elevate your culinary skills and enable you to achieve perfect sears every time.
Cast Iron vs. Stainless Steel: A Comparative Analysis
| Cast Iron | Excellent heat retention, ideal for high-heat cooking, develops natural non-stick seasoning over time. |
| Stainless Steel | Great for browning and searing, heats up quickly but retains less heat, suitable for deglazing and everyday tasks. |
Non-Stick Options: Balancing Performance and Convenience
Non-stick pans offer a unique blend of ease and functionality, making them a popular choice for many home cooks. With a specialized coating, these pans reduce the risk of food sticking, requiring less oil for cooking and leading to healthier meals. However, they may not reach the same high temperatures for searing as cast iron or stainless steel options. Overheating can degrade the coating, affecting both performance and longevity. Care must be taken to use non-metal utensils and avoid abrasive cleaning methods to preserve their integrity.
For those who enjoy the convenience of quick cleanups, non-stick pans can significantly streamline the cooking process. They shine in tasks such as scrambling eggs or making pancakes, where sticking can be a common frustration. However, if you prioritize achieving that deep caramelization on meats or vegetables, it’s advisable to employ traditional materials like cast iron or stainless steel for those specific techniques. Ultimately, striking the right balance between performance and convenience will depend on your cooking style and preferences.
Troubleshooting Common Searing Challenges
Searing can sometimes feel elusive, with unexpected hurdles derailing your perfect crust. Achieving that mouthwatering golden-brown exterior depends on understanding common missteps, heat sources, and pan types that can affect your culinary success. Offering insights into these challenges will help you troubleshoot any issues, paving the way for perfectly seared meats every time.
Why Your Food Isn’t Browning: Common Missteps
If your food isn’t browning, there are several missteps to consider. Insufficient heat may be the culprit; ensure your pan is adequately preheated before introducing your ingredients. You might also be overcrowding the pan, creating steam instead of allowing for that coveted browning reaction. For optimal results, make sure to dry your food and avoid moving it too frequently, allowing a proper sear to form. Addressing these issues can elevate your cooking dramatically.
Adjusting for Different Stovetop Types and Heat Sources
Your stovetop type plays a significant role in achieving the perfect sear. Conventional electric stoves heat slowly, while gas stoves provide immediate and adjustable heat. Induction cooktops offer quick heating but require compatible cookware. Understanding your heat source is key to tailoring your cooking style. Each stovetop has unique characteristics that may require you to experiment to find the best settings for searing.
| Stovetop Type | Key Characteristics |
| Gas | Instant heat, visual control |
| Electric Coil | Consistent but slower to heat |
| Induction | Responsive, requires compatible cookware |
| Flat Top | Even heating, but slower response |
| Halogen | Fast heating with a visible light source |
By recognizing your stovetop’s characteristics, you can better adjust your techniques for effective heat management. For instance, with a gas stove, you have the freedom to make rapid adjustments; conversely, an electric stove may require patience as it gradually reaches the desired temperature. Tailoring your cooking approach according to your heat source can yield more consistent results.
- Gas offers instant control but varies in intensity.
- Electric needs time to build heat and may conserve energy.
- Induction requires specific pans yet provides accuracy.
- Cooking time can differ based on your chosen stovetop.
- Recognizing the unique properties of your heat source will boost your confidence and effectiveness in achieving the perfect sear.
Expert Tips for Mastering the Perfect Sear
To achieve a stunning, flavorful sear on your proteins, consider the following tips:
- Always allow your pan to reach the proper temperature before adding your ingredients.
- Use a high smoke point oil to avoid burning and undesirable flavors.
- Pat your ingredients dry to maximize contact with the pan surface.
- Don’t overcrowd the pan, as this can lower the temperature and steam rather than sear.
Thou will find that adhering to these guidelines elevates your searing game immensely.
Essential Tools and Gadgets for Home Chefs
Investing in quality tools transforms your cooking experience. A heavy-bottomed cast iron or stainless-steel skillet is instrumental in heat retention. Don’t overlook a reliable instant-read thermometer to check doneness; it ensures your proteins reach the ideal internal temperature for both taste and safety. Additionally, a pair of sturdy tongs allows you to flip and maneuver ingredients with finesse, ensuring a well-seared finish. A splatter guard can aid in maintaining a clean workspace while cooking at high temperatures.
Secret Techniques from Culinary Professionals
Professional chefs often employ techniques that enhance the searing process. One such method involves the use of a two-zone cooking setup. This allows you to start with a sear over high heat and then finish the cooking process at a lower temperature. Additionally, the concept of resting meat post-cooking is pivotal; it allows juices to redistribute, resulting in a more flavorful bite. Moreover, using the right amount of seasoning and not overcrowding the pan are nuanced details that can significantly impact the final dish.
Culinary masters also emphasize the importance of patience during the searing process. Instead of constantly moving your protein, allowing it to sit undisturbed for a few moments encourages a beautiful crust to form. Chefs often recommend using aromatics like garlic or herbs introduced towards the end of the cooking process to infuse flavor without burning. Utilizing a splash of acidic ingredients, such as vinegar or lemon juice, right before finishing can also brighten the flavors, complementing the deep, rich taste derived from the sear.
Conclusion
Now that you understand the science behind pan preheating, you can elevate your cooking skills and achieve that perfect sear every time. By taking the time to properly preheat your pan, you’ll optimize heat distribution, improve food texture, and enhance flavors. Embrace this technique, and you’ll notice a significant difference in your culinary results, turning your meals into restaurant-quality experiences. With these insights, you are well-equipped to maximize your cooking potential and create perfectly seared dishes consistently.
FAQ
Q: Why is pan preheating important for achieving a perfect sear?
A: Pan preheating is vital because it helps create the ideal surface temperature for proteins to sear effectively. When a pan is sufficiently heated, it promotes the Maillard reaction, which is the chemical process that gives browned food its distinctive flavor and color. This reaction occurs at high temperatures, allowing for a rich crust to develop while helping to lock in moisture inside the food.
Q: How long should I preheat my pan before cooking?
A: The preheating time can vary based on the type of pan and heat source used. Generally, around 5 to 10 minutes on medium-high heat is adequate for most stainless steel or cast iron pans. To test if the pan is ready, you can sprinkle a few drops of water on the surface; if they dance and evaporate quickly, the pan is hot enough for cooking.
Q: What type of oil is best for high-heat cooking after preheating?
A: Oils with a high smoke point are ideal for searing after preheating your pan. Options like avocado oil, grapeseed oil, and refined canola oil are great choices, as they can withstand higher temperatures without breaking down and imparting off-flavors. Olive oil can also work but choose extra light or refined varieties for higher heat applications.
Q: Can I preheat a non-stick pan similarly to other types of pans?
A: Yes, you can preheat a non-stick pan, but you should exercise caution. Non-stick coatings often lose their non-stick properties at very high temperatures, so it’s best to use low to medium heat for preheating. This allows you to achieve some level of browning without damaging the coating or compromising the performance of your pan.
Q: What mistakes should I avoid when preheating a pan for searing?
A: Common mistakes include not allowing enough time for the pan to preheat, using too much oil which can cause splattering, and overcrowding the pan with food, which can lower the temperature and prevent proper searing. Additionally, avoid using cold proteins straight from the refrigerator; letting them come to room temperature can also help achieve a better sear.
